If you’re wondering how to install steel siding, this article is a great place to start. While the installation is fairly straightforward, it’s helpful to read an overview of the process before you begin. First, you’ll want to gather all the tools necessary to complete the job. Then, become comfortable with the specific installation process according to the style of steel siding selected. If you’re not sure how to install steel siding, continue reading for a better understanding of the task at hand.
Recommended Installation Materials
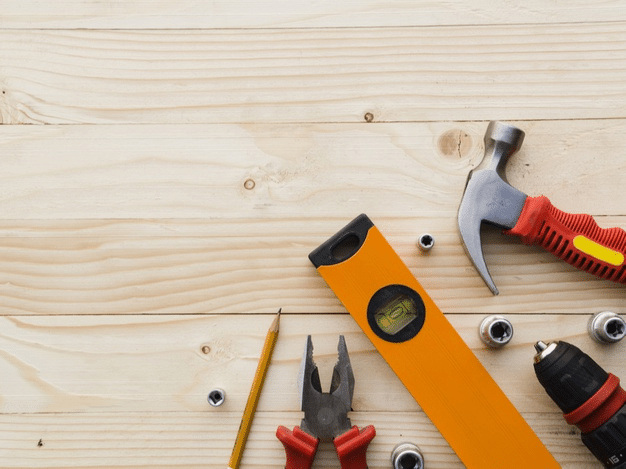
Having the right tools for the job is essential for a fast, easy, and safe installation. In addition to the steel siding itself, there are certain tools that will make the installation process much easier, including cutting tools, a snap lock punch and notching tool, and fasteners.
Cutting Tools
There are three types of cutting tools that you’ll want to have on hand. First, you’ll need a slide miter saw with a ferrous metal cutting blade. Diablo, Teryu, and Irwin are among the best brands for this specific cutting tool. In addition, you’ll need a pair of steel snips or heavy-duty hand snips. Midwest Left and Right Offset Aviation Snips are a great example of quality steel snips. Finally, you’ll need nibblers or electric shears for your drill.
Snap Lock Punch/Notching Tool
A notching tool is essential, since it is used to punch a notch in the leg of the crown piece. This notch will allow you snap the piece of siding into a soffit j-channel. While most quality notching tools will work, Malco SL-1 Snap Lock Punch is a great example of a reliable tool.
Fasteners
Either galvanized or anodized screws are acceptable for this project. You’ll want a screw with coarse threads between 1 and 1.5 inches in length. Grabber Fasteners or Bugle Head Phillips Gold Screws are both fine examples. Carpenter nails will also work as fasteners.
Additional Tools
You’ll need an assortment of basic building tools for this project, including a cordless drill, caulk gun, blue chalk line, flat bar, utility knife, speed square, flat nose pliers, and measuring tape.
Log Siding Materials
For log siding, materials will consist of a variety of forms, including J-channel, sill trim, 2 ½ inch starter strip, corner base and cap, frieze board, bold window and door trim, and a J-block.
Board and Batten Materials
For board and batten, siding will include J-channel, bold band board, sill trim, rat stop and starter, corner base and cap, bold window and door trim, and a J-block.
How to Install Steel Siding

For those who are still learning how to install steel siding, the easiest place to begin is at the base of the house. First, remove the steel siding from the box, and cut it into the appropriate length. Make sure you remove the foam before cutting any of your steel siding.
Plan to have your joints about 4 feet apart, and use a slide miter saw to cut siding sections accordingly. Joints can be smaller, such as 2 or 3 feet apart, but they should never be less than 1 foot apart.
Slide a section of siding into the J-channel carefully. Because the J-channel is built with a considerable lip, you’ll feel when the first piece of steel siding clicks into place. If it’s not secure, check again to make sure it is lined up correctly with the J-channel. Place a fastener at the midpoint of the section, and check that both ends are correctly lined up in place. Then, slide the foam backer in behind the panel. Once the backer is in, you can secure each end of the siding section with an additional fastener. Remember, either a nail or screw will work as a fastener.
Work your way across the side of the house horizontally. Each piece should overlap the previous piece by a half inch. Once you finish the first layer, you can begin moving up, simply making sure each piece of siding is locked into place before applying the foam backers and fasteners.
Steel Siding Installation: Extra Tips and Tricks

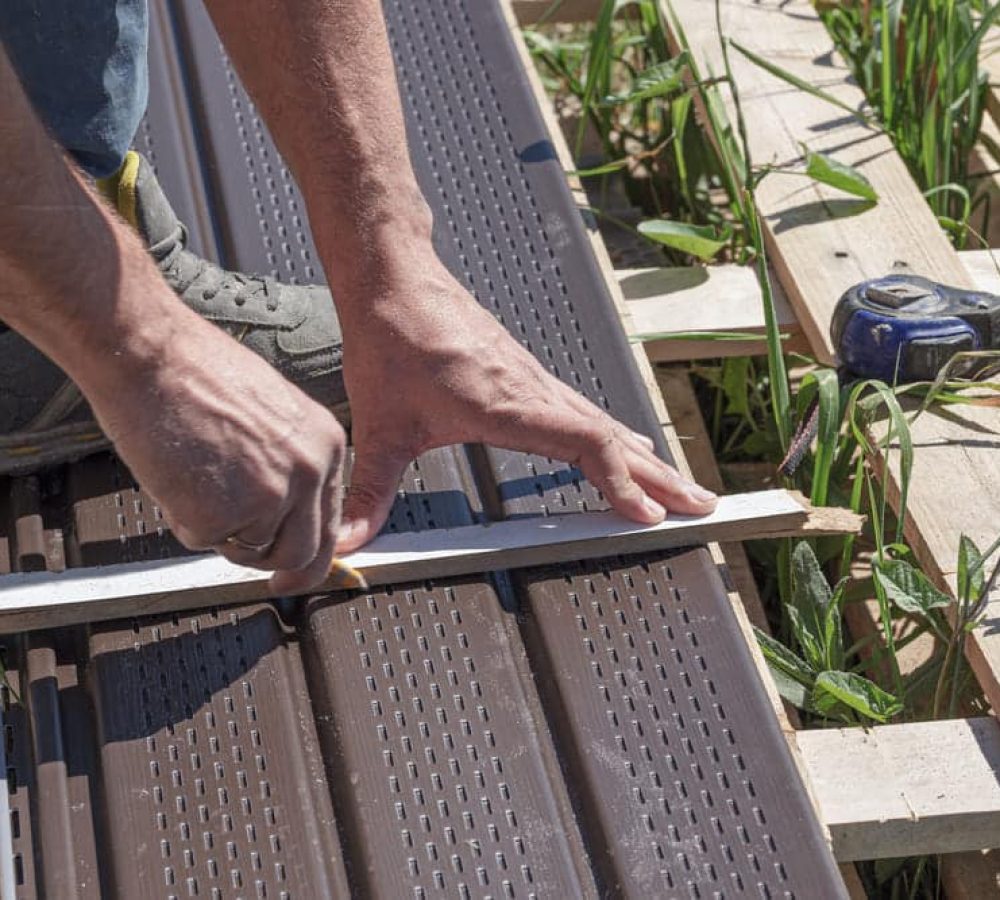
If the house has exterior outlets, you will need to cut the steel siding accordingly. Never estimate this in advance; wait until the panel is next in line for application before measuring and cutting the siding with snips. Also, be sure to mark the steel siding within an eighth of an inch before cutting.
When working your way around a window using a board and batten design, measure a piece of steel siding that is equal to the height of the window plus 2 inches. Cut a small flap at the bottom and at the top. The piece should fit snugly against the border of the window, overlapped by a small section of existing steel siding. Then, use a drill to fasten the vertical piece in place. Finally, use pliers to bend the overlapping flap around, next to the J-channel, for a seamless finished look.
As you can see, the installation process is straightforward when you have the proper tools. With a little practice, you’ll know how to install steel siding like a pro!


