Hardie board siding, also known as HardiePlank, is an exterior home siding product. It is designed to look like wood, with natural-looking graining, but is actually composed of cellulose and cement.
This material offers many benefits of new house siding without some of the headaches traditional materials come bundled with. Consider how vinyl can crack and melt or how wood shingle siding can rot. Hardie board siding doesn’t come with any of those hang-ups.
However, to get the most out of your home’s new Hardie board siding, it must be installed properly. Any reputable builder should know how to work with this material. But for the intrepid DIYer, here are some do’s and don’ts to consider when installing Hardie board siding on your house:
Do: Your Research
Before you even install a single board, stop and get to know the product line a little first.
There is not just a single Hardie board on the market. There are, in fact, multiple to consider. And each board style comes with considerations, such as unique dimensions, finishes, colors, and more.
When researching Hardie board siding, it is imperative that you consider all of your options. This can be an overwhelming step, but it’s important to understand the product you’re about to purchase. It’s also important to understand the pros and cons of the competition.
Don’t: Install Over Old Siding
Like any siding product, Hardie board siding needs to sit flush against your house wrap. This ensures tightness against the elements and a proper placement for flashing. So pull up your old siding, flashing, caulking, and sheathing first. Your Hardie board siding will be more effective because of it.
Do: Measure Twice, Cut Once
This is generally true for all buildings, but once your Hardie board siding is cut, it cannot be reassembled. Having a plan for all of your panels means you can ensure a perfect fit around the entire perimeter of your home. It also will help mitigate material waste with small or oddly shaped pieces. So before you bust out your miter saw, give your tape measure some action first.
Don’t: Nail Your Boards
Unlike traditional wood boards, Hardie boards are made from cement. This means a traditional nail will fail to hold it in place. Made worse, an improper nailing attempt can crack the board.
Instead, a screw designed to work with cement products will work best for your Hardie board siding installation. When in doubt, ask your local hardware store for a screw recommendation.
Do: Flash
Hardie board acts like any traditional siding material. And while it is equipped to stand up to the elements on its own, it’s not perfect. Your home has lots of creases and crevices that the board simply can’t protect.
This is where flashing comes in. When installing your Hardie board siding, don’t fasten the final layer to the bottom when you reach your home siding’s edge. Instead, leave it loose for easier flashing. You can then easily fasten the final Hardie board siding panel once fully flashed.
Don’t: Forget to Seal
Once screwed and flashed, your Hardie board installation will need to be sealed to properly protect your home’s crevices. Trim or caulk should be applied around the house in the ¼ inch gap at the end of your home’s wall and board panels. Once filled, your Hardie board install is complete.
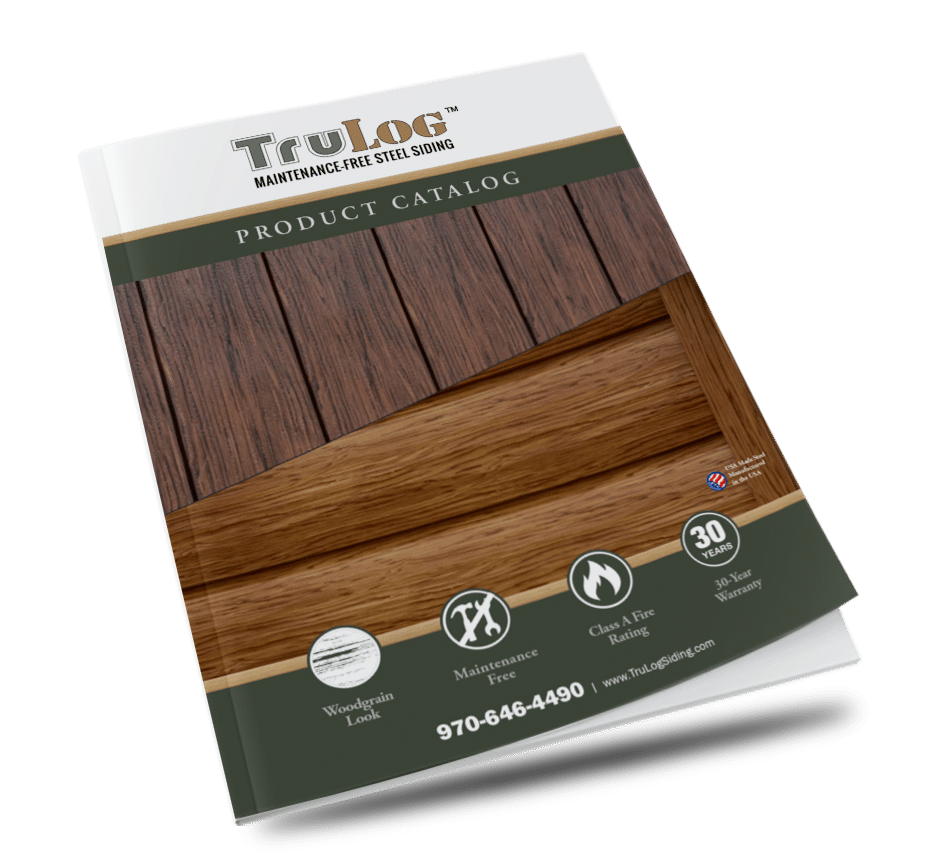
Do: Consider TruLog Siding
When you install Hardie board siding, there is a lot to consider for how to install Hardie siding properly. Any step of the process done wrong can mean a house siding that doesn’t last.
But what is both simple and easy to install? Metal wood-look siding from TruLog. Our siding is durable, easy to install, and offers the same handsome looks as Hardie board siding. Get an estimate today!